B
Bunny
A
Amazon S3
Share Your Kit © 2023

21 Nov (3 years ago)
Tools
Bunny
Amazon S3
You can click on each tool to see the details about them.
Category
Description
Details
Go to Amazon S3 and create your account.
Then create a bucket, keep the default security, you can see in the Access column Bucket and object not public.
To finish create an access key.
Go to Security credential and create an Access key.

caution
To have the best security, it is preferable to create a user with just the rights to read and create an object for the bucket.
Bunny is a powerful CDN with many servers around the world and many security or dynamic image processing option.
So, create your account.
And then go on CDN => Add Pull Zone.
For the field Pull Zone Name, fill with any name.
For the field Origin URL, fill with url of your bucket
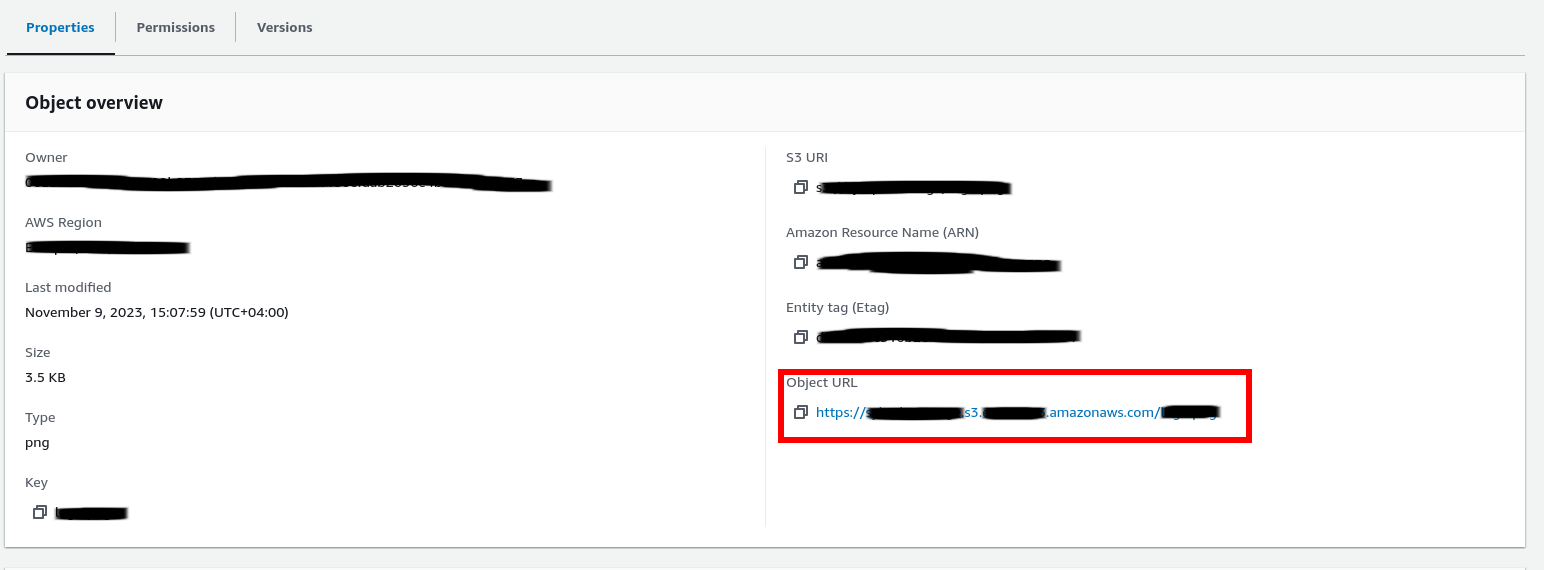
To find url of bucket, you can simply push a file to your bucket and then go to the properties tab and read the field Object URL
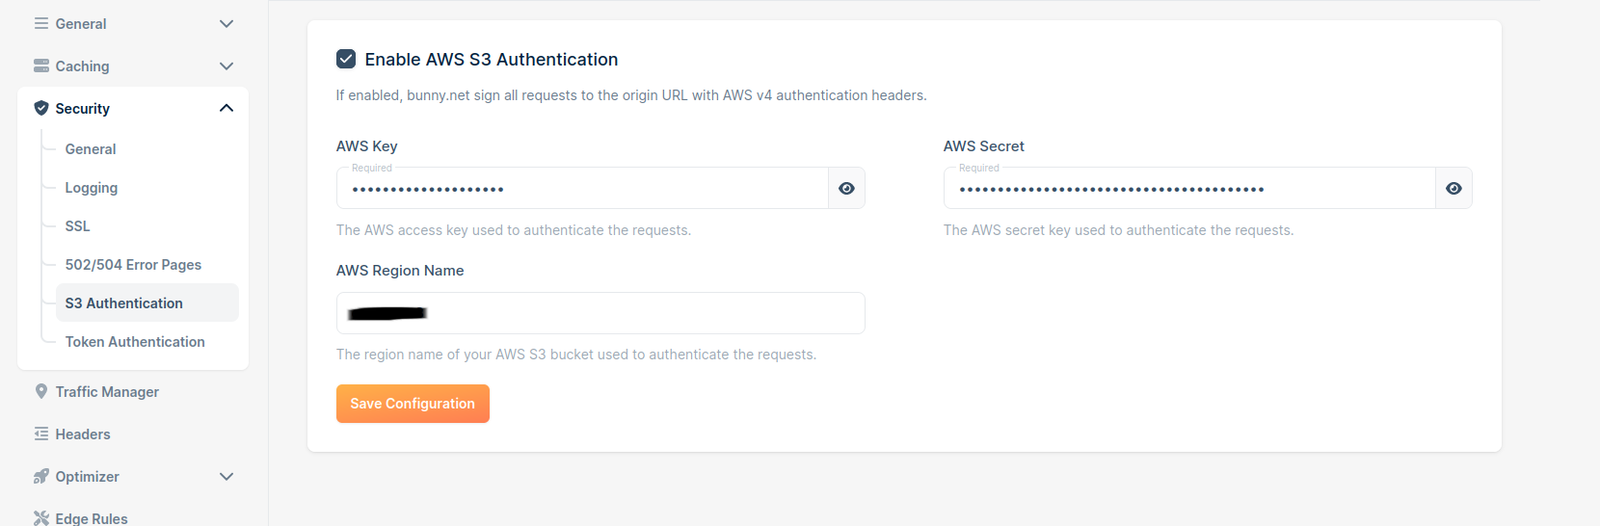
Once the cdn is created, you must configure your Amazon Access.
Go to the pull zone => Security => S3 authentication
Fill in the AWS Key, AWS Secret and AWS Region Name with the Access Key created earlier in your AWS account
At this point, you normally have a cdn connected to your s3 bucket.
To test you can push an image into your bucket and you should have access via the url of your CDN + path of your file
Keep in your mind if you create a folder, you must put the folder in the url.
The Url of your CDN which you can find in General => Hostname

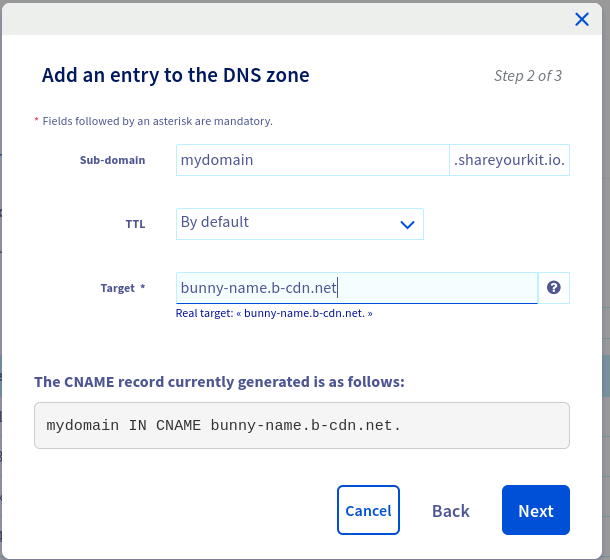
If you are using your own domain name, you can simply create a CNAME that points to Bunny's domain ***.b-cdn.net.
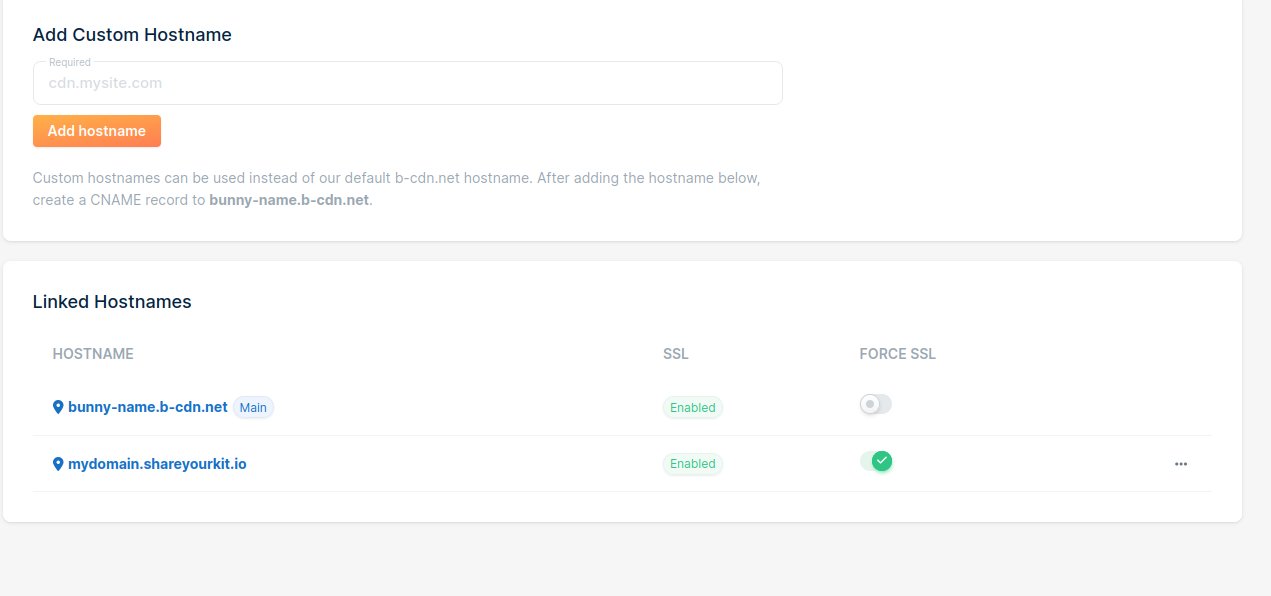
Then, go to General => Hostname add your Custom Hostname and click on Enable SSL and enable Force SSL, like that if a user uses http, he will be redirected to https.
To have more security you can activate 2 options Block Root Path Access and Block POST Request in Security => General
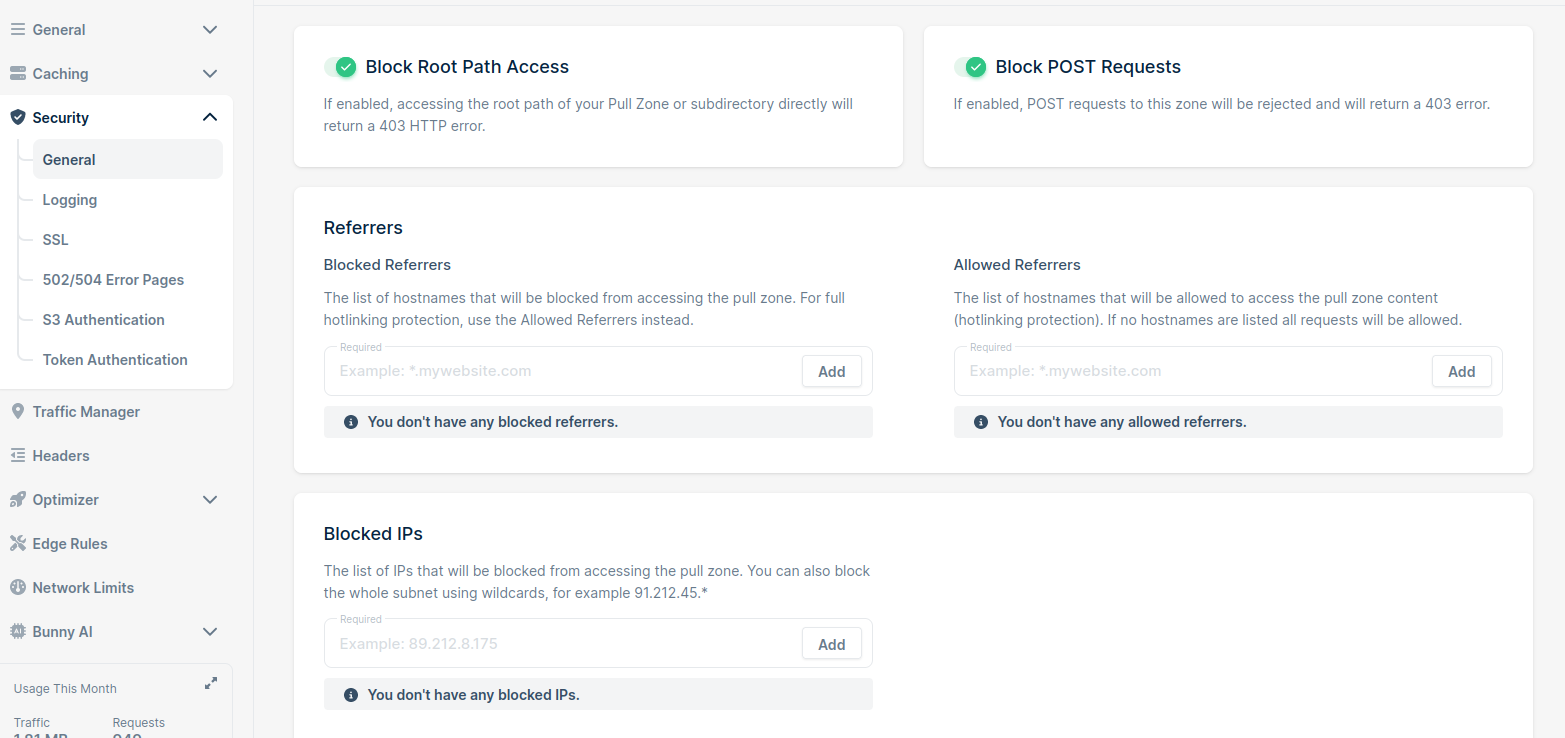
Bunny has many options to have more security such as Blacklist Ip or White list referrer, some dynamic image processing options (resizing, automatic Webp conversion, image cropping etc)
and Voila! You have set up simple and powerfull media storage
Be the first to comment